Wallpaper around windows: Tips and steps for a perfect result
Wallpapering around windows can be a challenge, but with the right approach and techniques, you can easily achieve a neat and tidy result. In this step-by-step guide, you will discover how to wallpaper around windows in the best way.
Note: These instructions are specifically for recessed windows with walls on the sides (window reveals), not for surface-mounted frames. For surface-mounted frames, you can simply cut around the wallpaper as you would with skirting boards and door frames.
With these handy tips, you can wallpaper efficiently and accurately around windows without the result looking messy. Be patient and precise for the best outcome!
Cutting the window reveal
Method 1: Wallpaper the wall and cut the window opening
In this method, you first wallpaper the wall and then cut out the window opening. This prevents wallpaper from covering the window reveals.
Disadvantage: the wallpaper may sometimes come loose at the corners.
Tip: Consider painting the sides of the window opening in a colour that matches the wallpaper. This creates a more rounded and harmonious look in the room.

Wallpapering the window reveal
Method 2: Wallpaper on the reveal
Step 1: Stick the strip of wallpaper over the window opening. Make a 45-degree cut in the corners of the window opening. Press the wallpaper firmly into the reveal and trim the excess using a wallpaper spatula along the window frame.
Step 2: Use leftover material to fill the corners. Cut strips the same width as the window reveals. Add 4 cm extra length for a clean finish.
Step 3: Carefully fold back the wallpaper at the corners, apply sufficient adhesive to the edges, and stick the strips onto the sides of the window reveal. Then fold the wallpaper over the corners. Even if the pattern does not align perfectly, this technique helps to cover any white spaces. Choose a matching piece from the wallpaper to conceal the transition as much as possible.

Wallpapering behind sockets and switches
Sockets and switches:
- Turn off the power before starting.
- Remove the faceplate of the socket or switch.
- Tape off the electrical mechanism to prevent glue from getting inside.
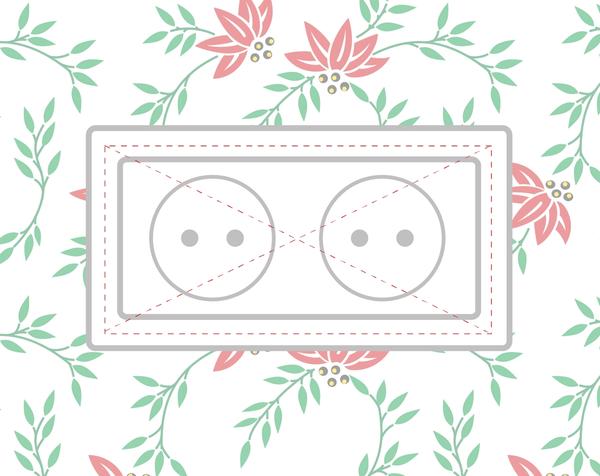
- Apply the wallpaper as usual and cut an X-shape from corner to corner around the socket or switch.
- Press the wallpaper down firmly and cut the opening slightly smaller than the faceplate. Remove the tape and any glue.
- Screw the faceplate back on.
Clean the surface and reattach the faceplate properly.